
Cardboard Cheshire Cat Wall Art – Extreme Upcycling – Craft Room Makeover
Advertising Disclosure: Upcycle Design Lab may be compensated in exchange for featured placement of certain sponsored products and services, or your clicking on links posted on this website.
Update April 7, 2020,
Hi, I just wanted to give a quick update to let you know that the room makeover is complete. You can view the room tour below or skip on down to the Cheshire Cat Wall Art Post.
Hello and Welcome,
I may have said this before but this time it is truer than ever. This is the craziest project I have ever made. It took a loooooooooooooong time and by the end, I was pretty tired of cutting and gluing the cardboard but I am super happy with the way it turned out. It is quite possible that the room is more suited to someone lets say 40 or so years younger than I am but stay young I say.
Anyway, I had the idea for this project when I was making these cardboard frames. When I first envisioned this project it was somewhat less massive than it turned out but if you are a crafter you know that some time projects take on a life of their own and all you can do is follow them to their desired conclusion.
If you have seen some of my other posts then you know I have been working on a lot of projects to makeover my craft room. You can catch up on all the Craft Room projects here. I am getting pretty close to completing the room but this one corner was left.

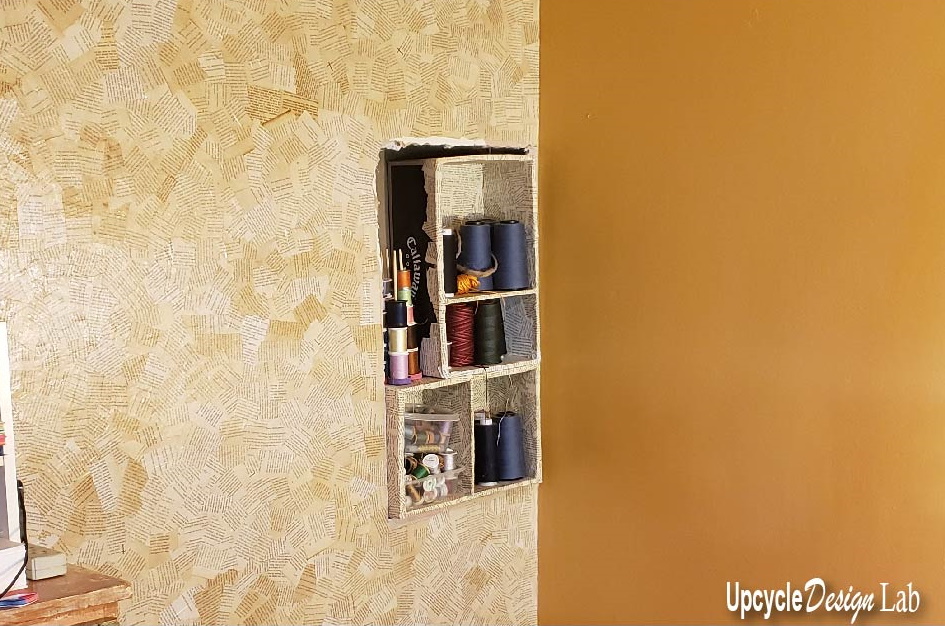
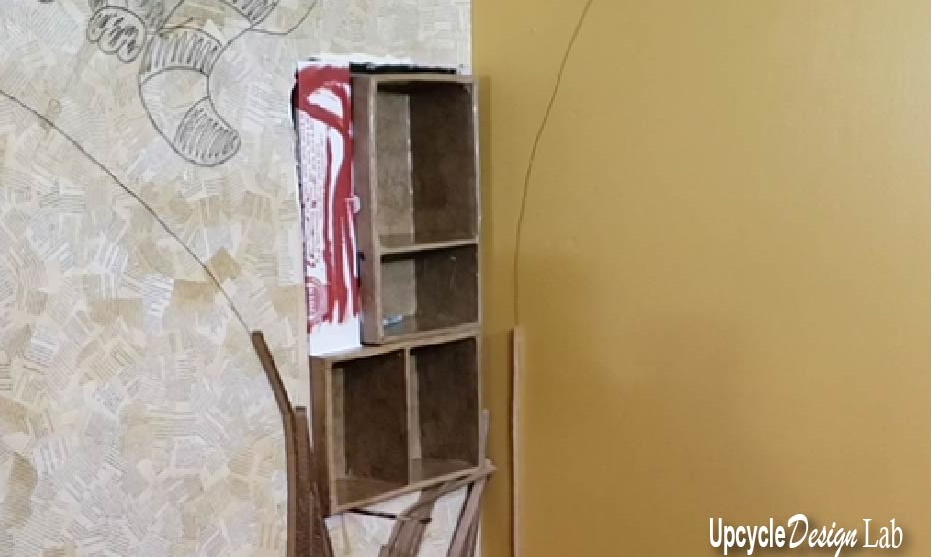
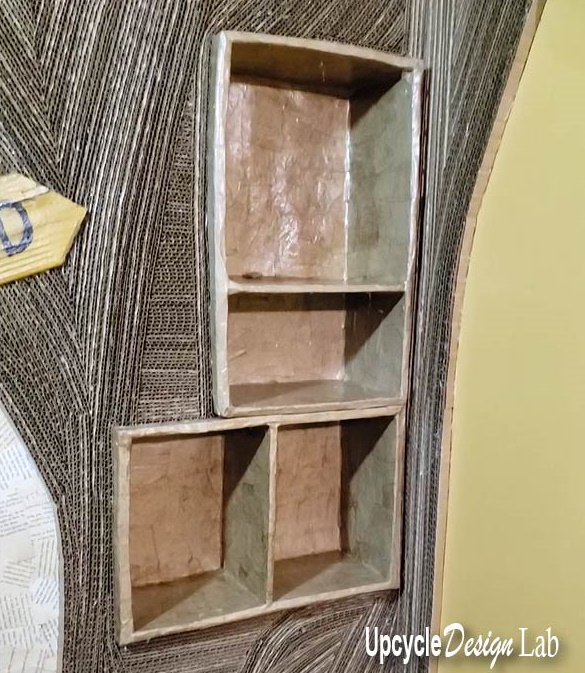
I had made the hole in the wall years ago but never finished it.
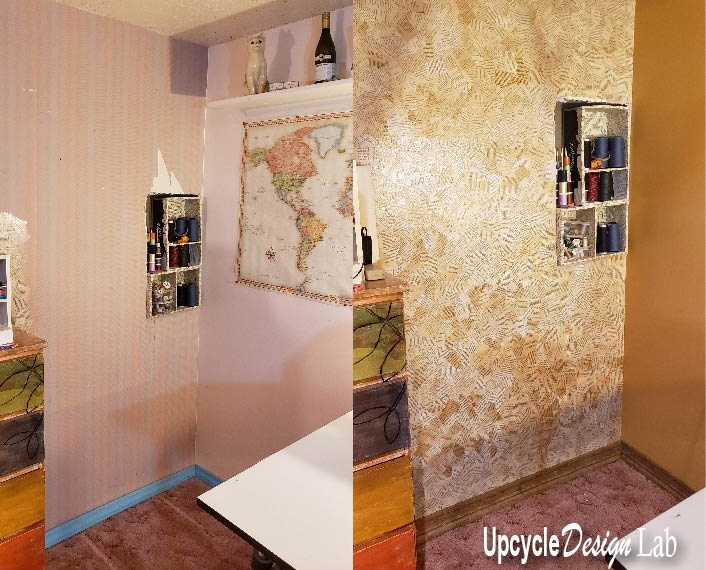
To start this project I moved the desk and painted and papered the walls to match the rest of the room. I also replaced the baseboard with the cardboard baseboard I made in this project here.
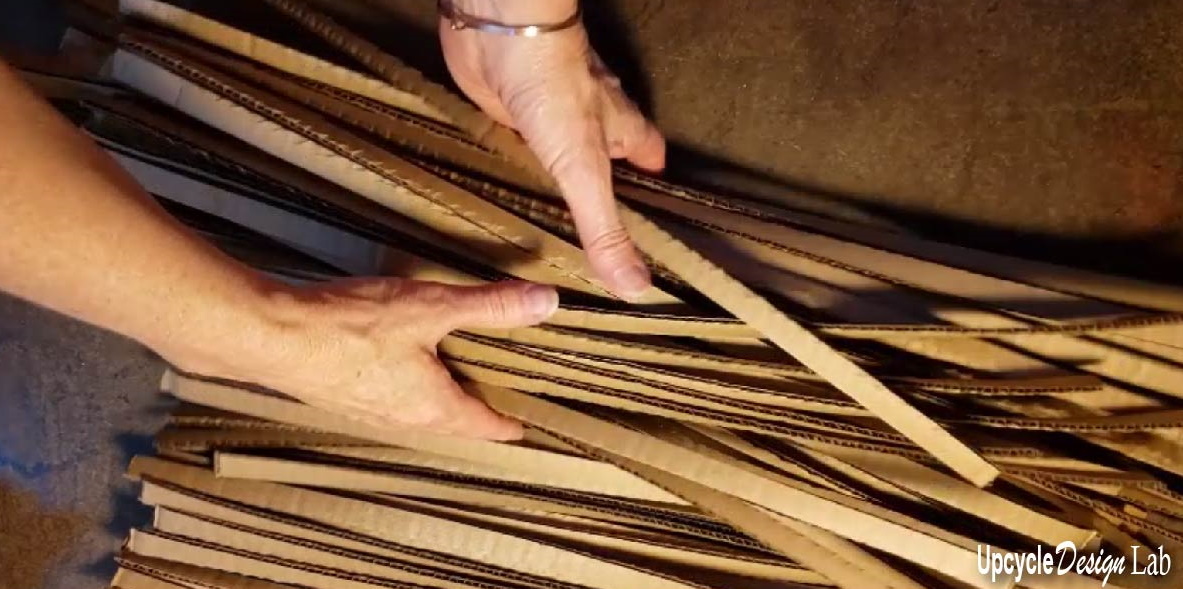
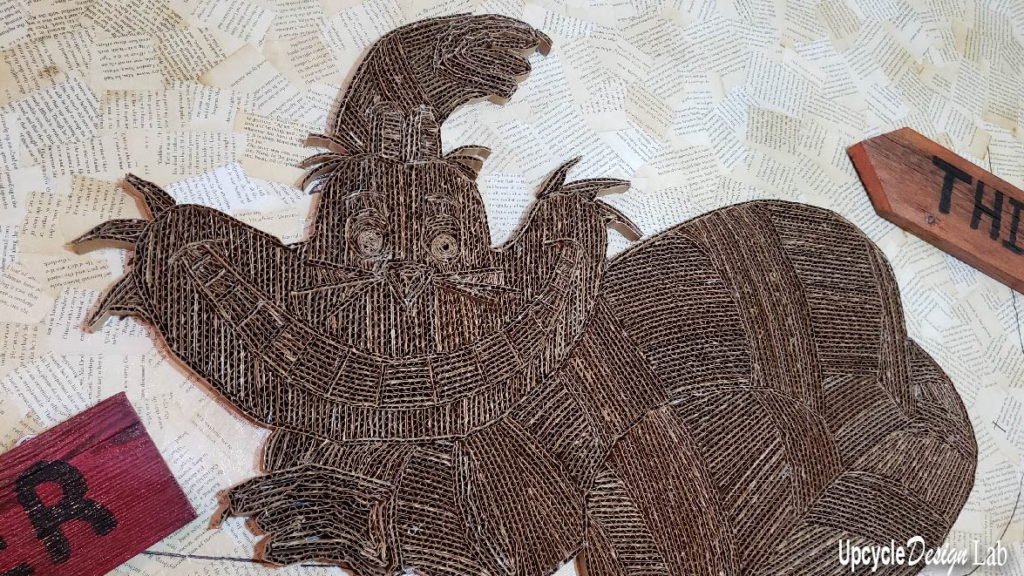
Once the walls were prepped I was ready to start creating the vision in my head. It started with cutting a whole lot of corrugated cardboard into half-inch strips.
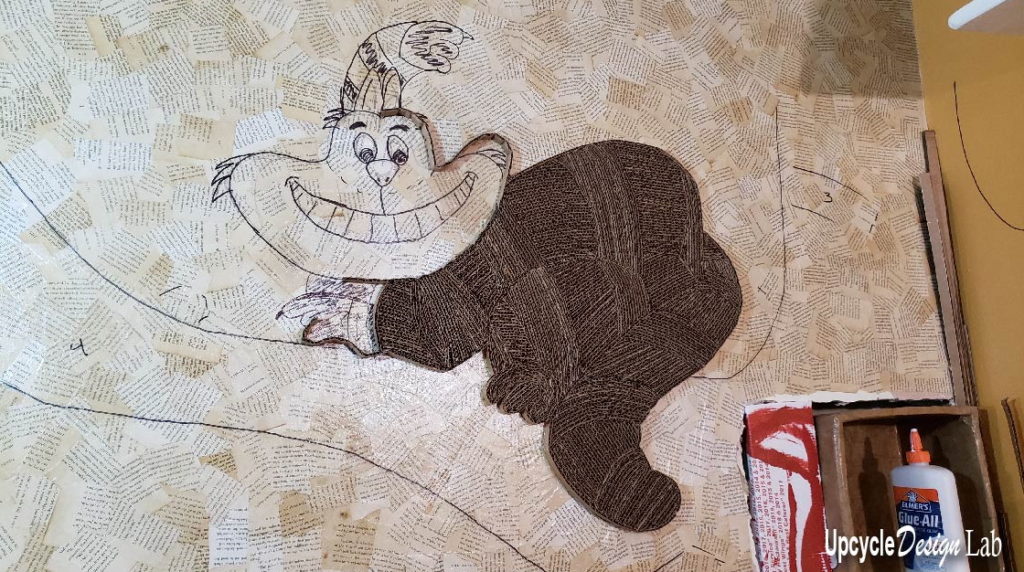
Next, I used a sharpie to make a rough sketch of the design on the wall. No, I am not a great sketch artist and yes it is a little scary to take a permanent marker to your freshly painted and papered walls.
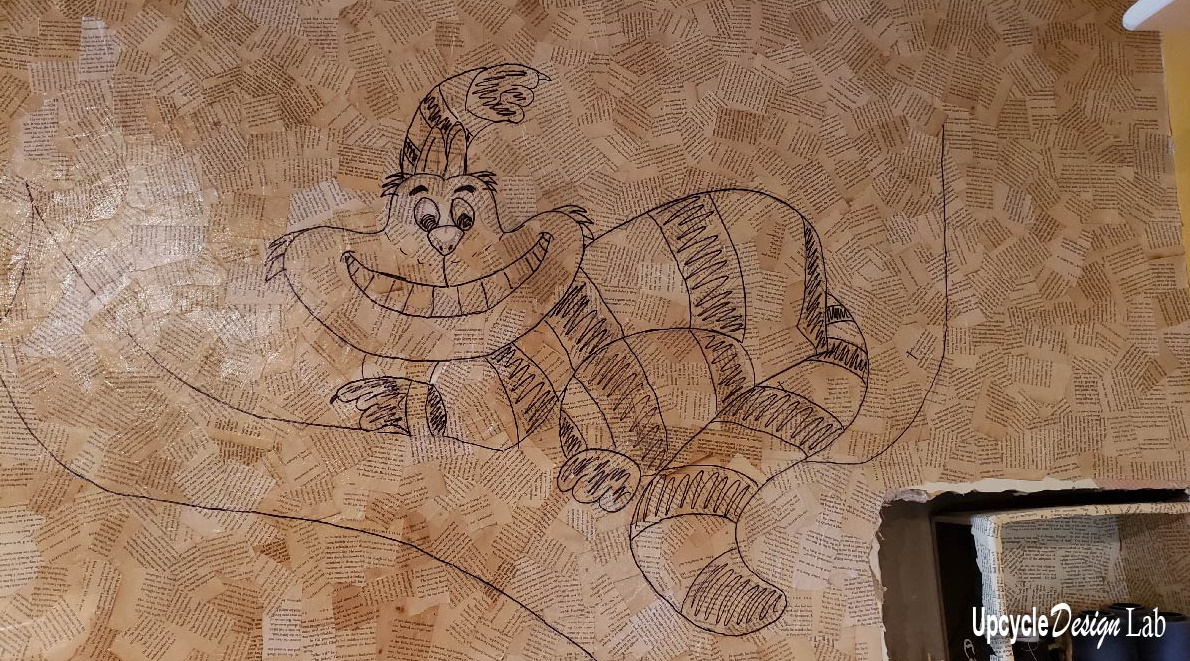
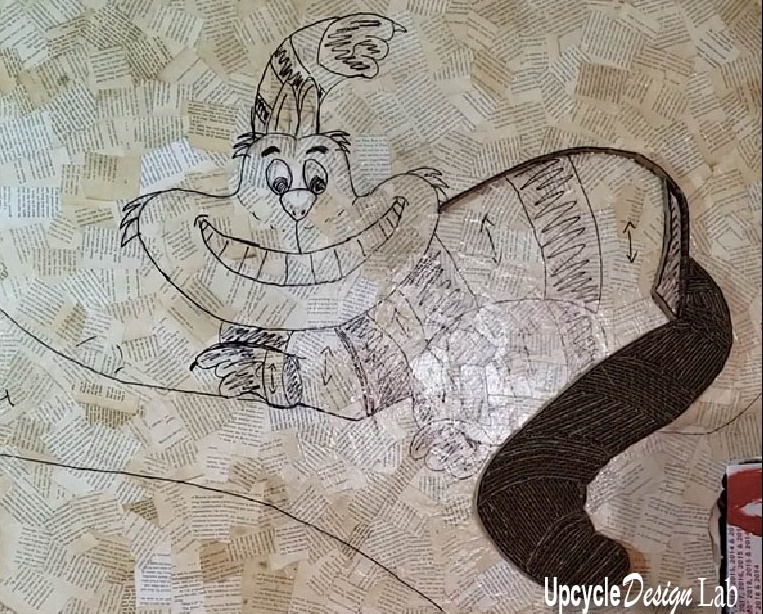
Once the rough sketch was done it was time to start working with the cardboard. I used a combination of hot glue and Elmer’s glue to attach the pieces to the wall. And slowly very slowly the design started coming to life.
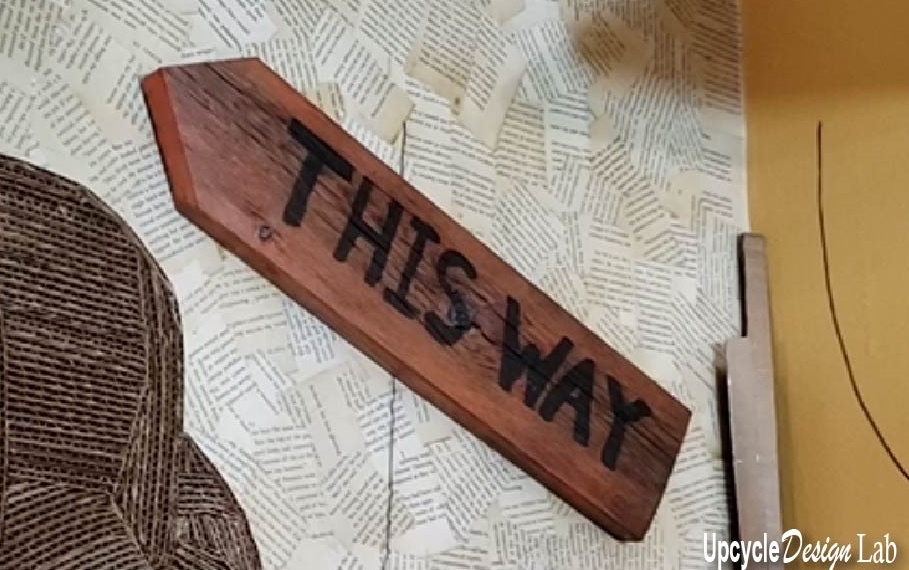
I added some wood signs made from old fence posts stained in the custom colors to match the dressers I refinished in this project here.


To finish off the hole in the wall I filled in the gap with a piece of cardboard, covered the box shelves with some brown packing paper and then covered the opening with the cardboard strips.
Once I had the whole design finished the last step was to add some color with a quote on the wall and some paint. As I said before the project took a whole lot longer than I was planning but I feel cheerful when I look at my silly accomplishment. It is quite frivolous and whimsical and it makes me smile.


You can see the whole project come together in the video below.

Happy Upcycling,

Advertising Disclosure: Upcycle Design Lab may be compensated in exchange for featured placement of certain sponsored products and services, or your clicking on links posted on this website.


All I can say is “WOW!” Lady, you are amazing. Who else would attempt such a huge project… and finish it? Great job!
Thanks Nancy I am happy with how it turned out but I was pretty sick of working on it by the end. 🙂
I just want to say that……LADY YOU ARE AMAZING!
Thanks so much Linda!
That is the most fantastic upcycle I have ever seen. You are never too young or too old for that wall!
Thanks Jewel 😊