
Craft Room Makeover – Extreme Upcycling – Cardboard Tool Storage Frames

Advertising Disclosure: Upcycle Design Lab may be compensated in exchange for featured placement of certain sponsored products and services, or your clicking on links posted on this website.
Hello and welcome to the Upcycle Design Lab. If this is your 1st time here I hope you’ll stick around and check out some of my other upcycled projects. If you are new to my blog and you just stumbled on to it you may feel a little bit like you have fallen down a rabbit hole. You won’t find your typical farmhouse or Martha Stewart craft projects here.
I like to experiment with recycled materials to see what I can make from them and currently I am working on giving my messy craft room a much-needed overhaul with a lot of different upcycled projects. Sometimes my experiments turn out better than I imagined and sometimes they do not. But that is life, I guess. Today I am sharing the sixth project in my craft room makeover series and I have to say it is my favorite project so far. If you missed any of my other projects you can get caught up here.
I am about halfway finished with the room and here are a few before and after pictures of some of my project. My first project was a cardboard wall followed by some cardboard baseboard and trim.
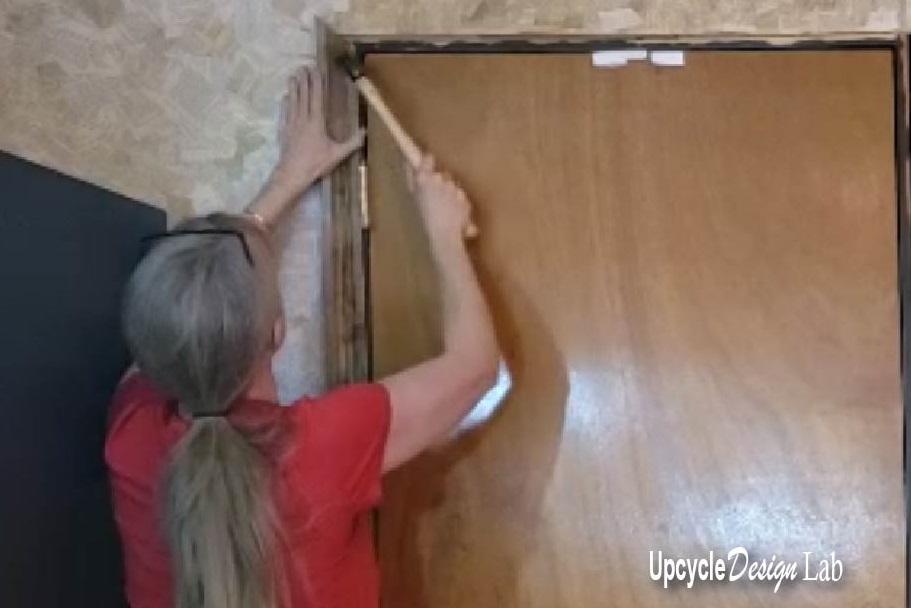
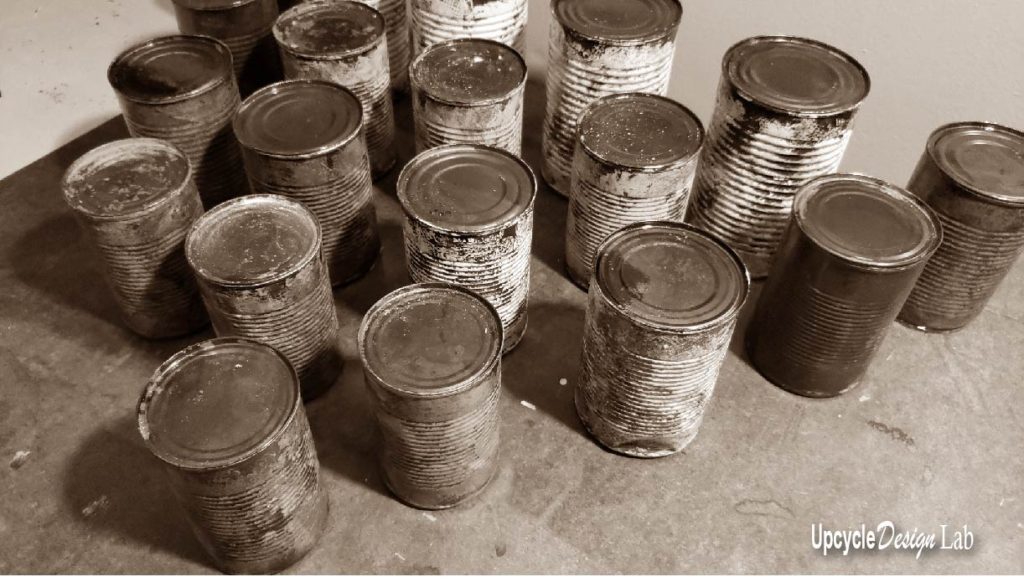
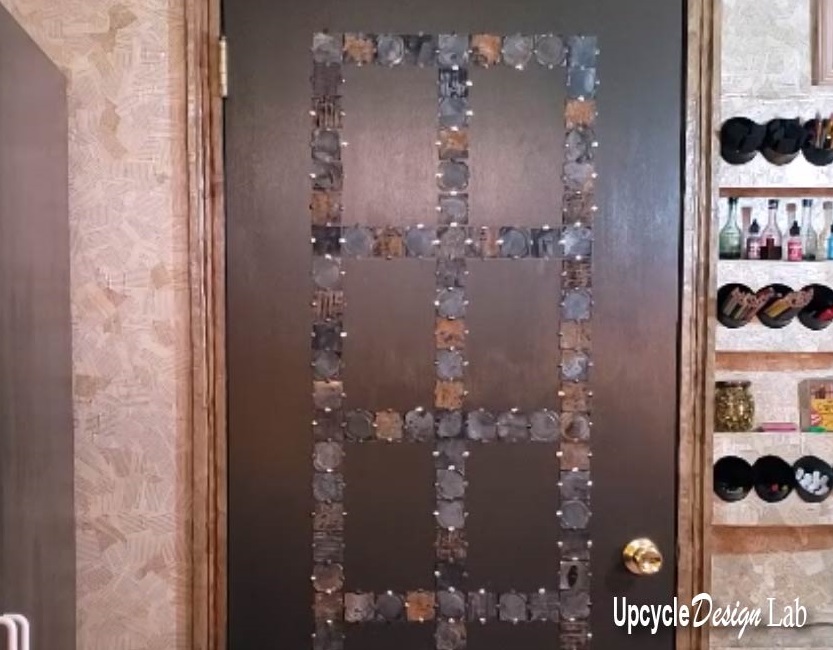
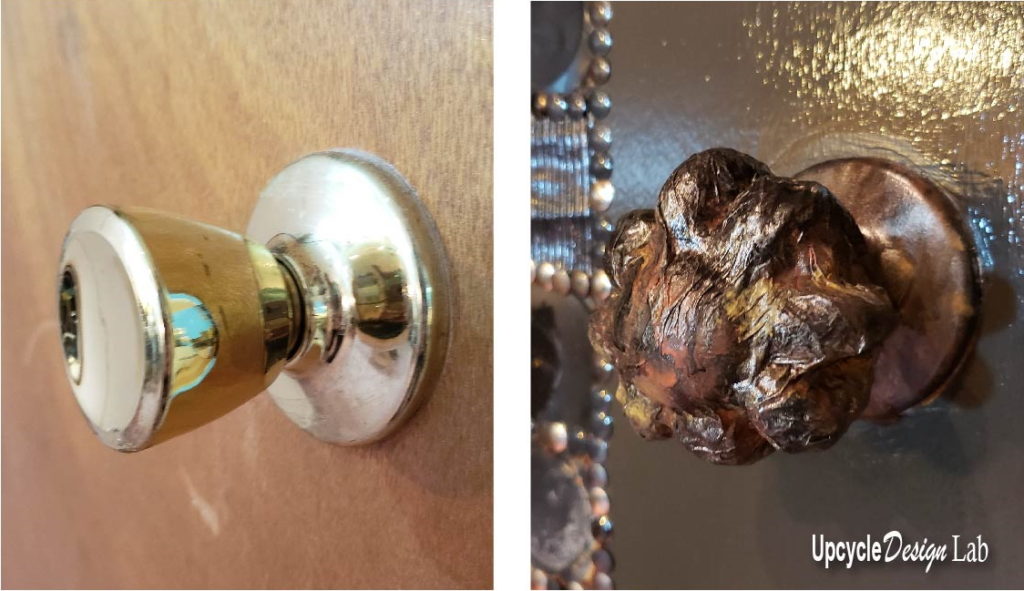
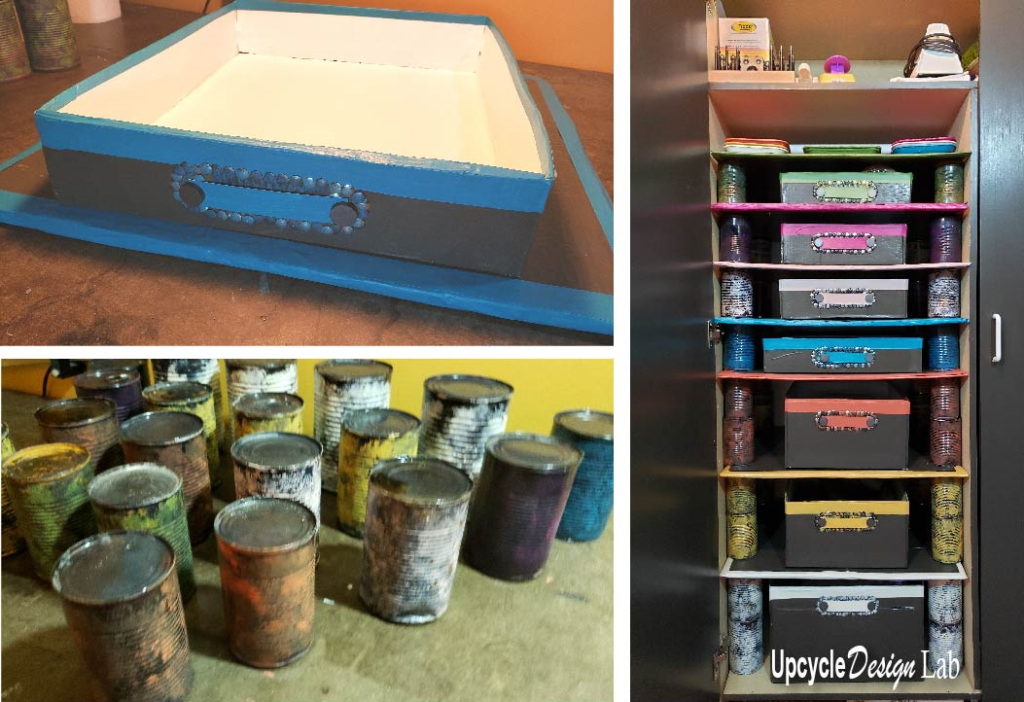
Next, I gave my closet door a facelift with some tin cans and paper mache.
I made some cardboard shelves and organizer boxes for my cabinet.
I am currently working on covering up my ugly ceiling tiles and I have some dressers to refinish, a hidden storage space projects and a few other things up my sleeve so I hope you will check back on those projects. I send out an email to my subscribers when I post new projects which right now is about every two weeks so be sure to subscribe if you would like to get those notifications.
Before we get on with today’s craft project, I have also been sharing my love of books and I am currently working with a book called The Write Brain Workbook, by Bonnie Neubauer. The book is packed with fun short writing prompts and I am selecting one randomly each week to write about.
Today’s writing topic is called “Bald Ballerina.” The assignment is to start with the word bald and free associate whatever words come to mind. Next, it says circle 6 interesting words from your list and use them in a story whose main character is a ballerina. Start with the phrase “I was backstage.”
Here is the list of words that I came up with Eagle, sore, float, fly, nest, sky, shiny, smooth, flat, barren, wind, clouds, tree and man.
Even though the assignment was to use 6 of your favorite words I decided what the heck I’ll just try to use them all. Here is my silly short little story.
I was backstage waiting for my cue to take the stage. As the orchestra reached its crescendo I would soar in like an eagle floating on the crest of the wind and begin my performance. Normally I was prepared to fly in through the paper clouds and backdrop sky to dance and spin my way among the set of props and trees. I had done this performance hundreds of times. I could practically perform it in my sleep. Still, I was nervous. I checked my appearance in the offstage mirror, my costume glimmering and shiny, my hair smooth and in place, I tapped my toe gently on the flat wooden floor.
I was ready, I knew I was but still the stage looked like a barren wasteland that I could not cross. Somewhere out there in the sea of faces in the audience, tonight was a man from the Royal Ballet in London and he had come to assess me.
It is was almost time. I took one long deep breath, pinpointed my focus on a small nest in one of the stage prop trees and began.
*********************************************************************
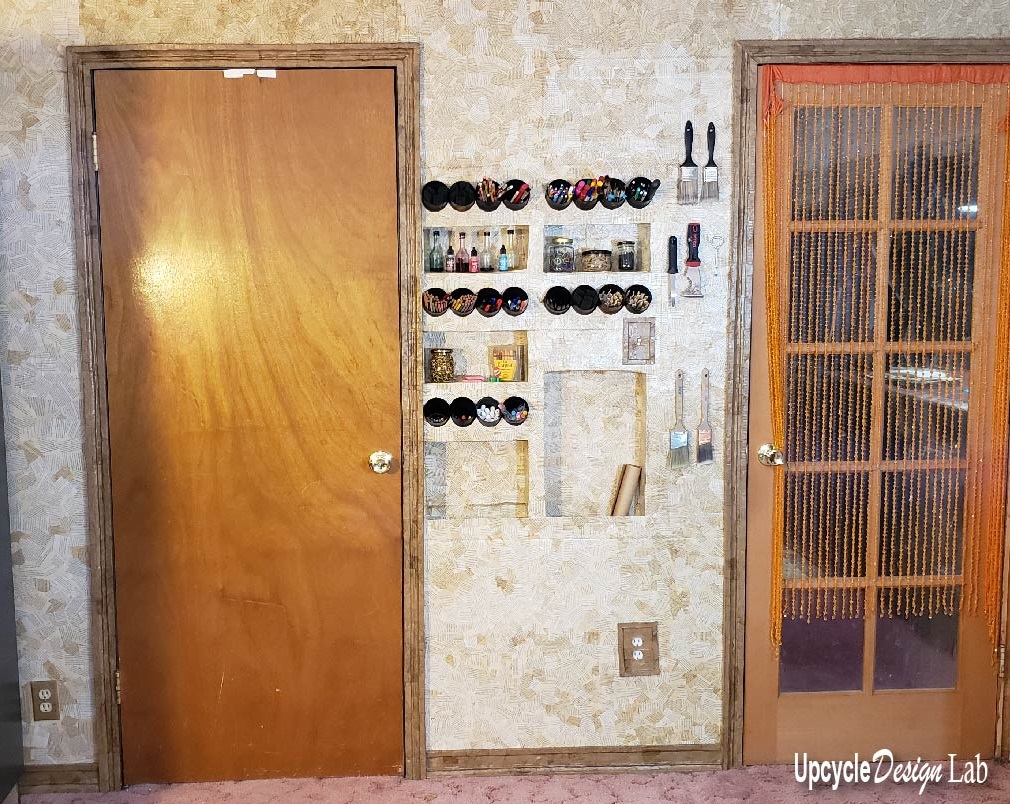
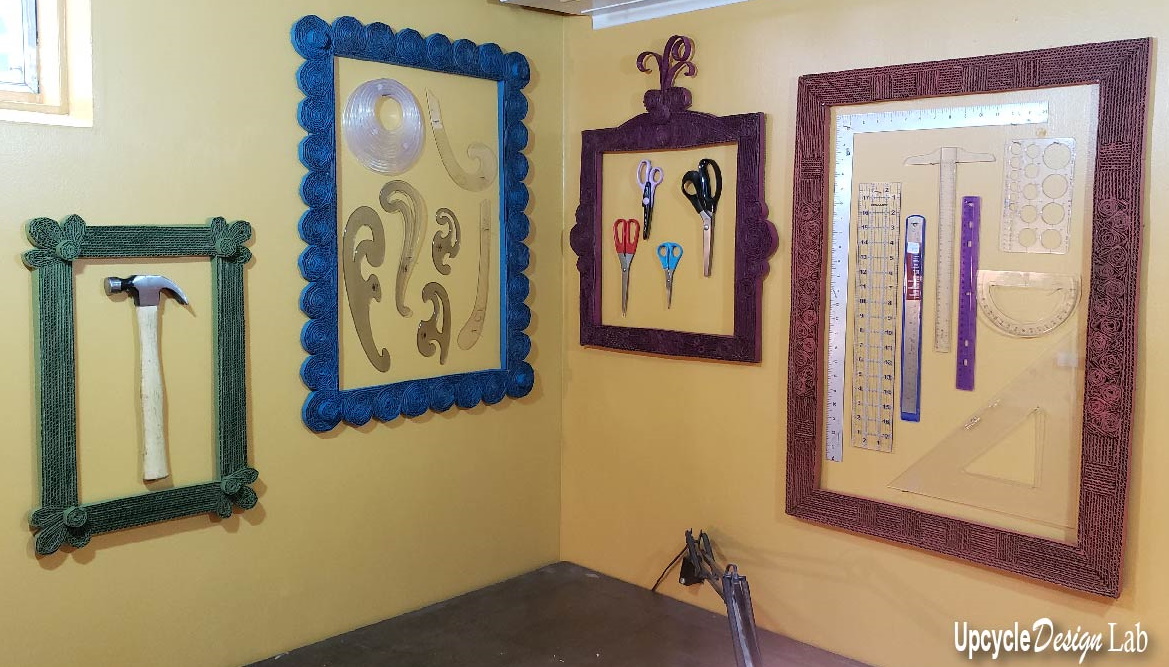
And now on with today’s project. As I mentioned before it is my favorite so far. It is bright and cheery and very functional.
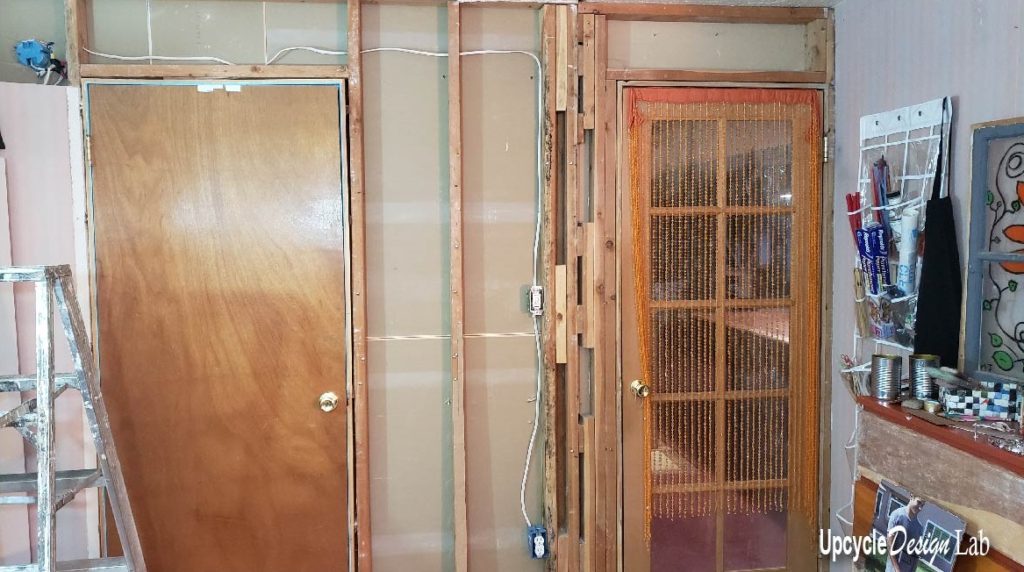
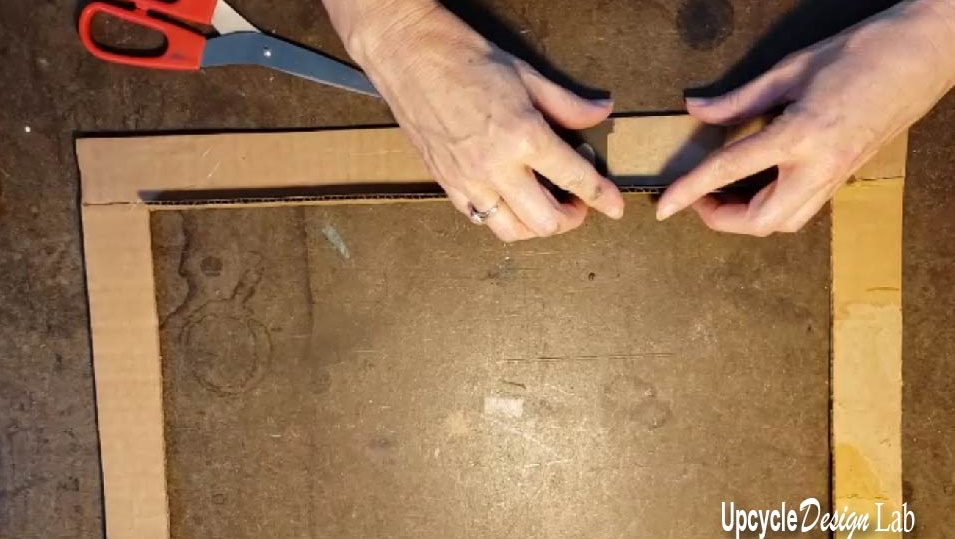
The first step was to layout my tools and decide what size frames I needed to make.

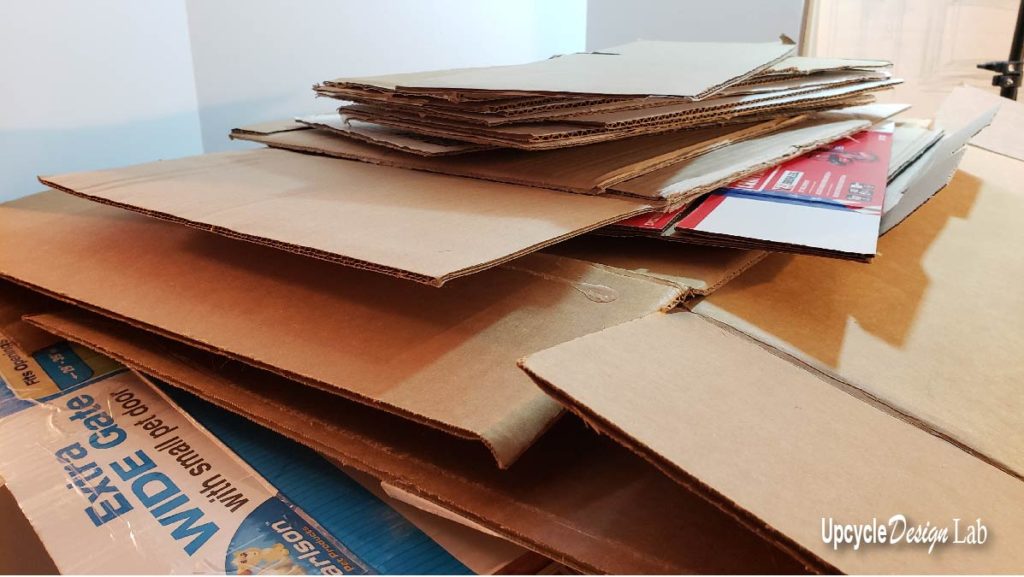
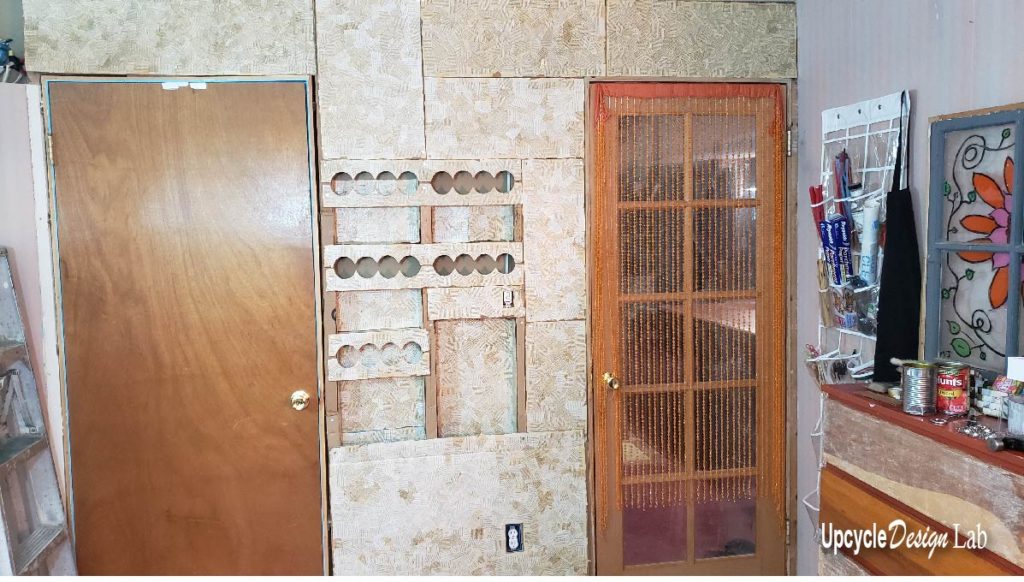
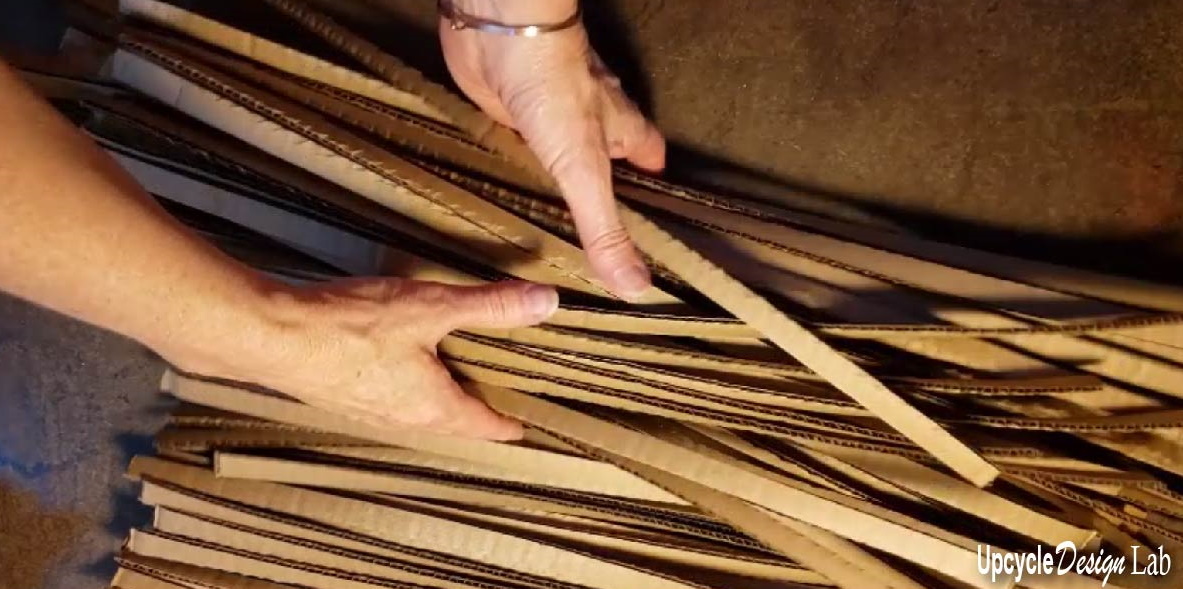
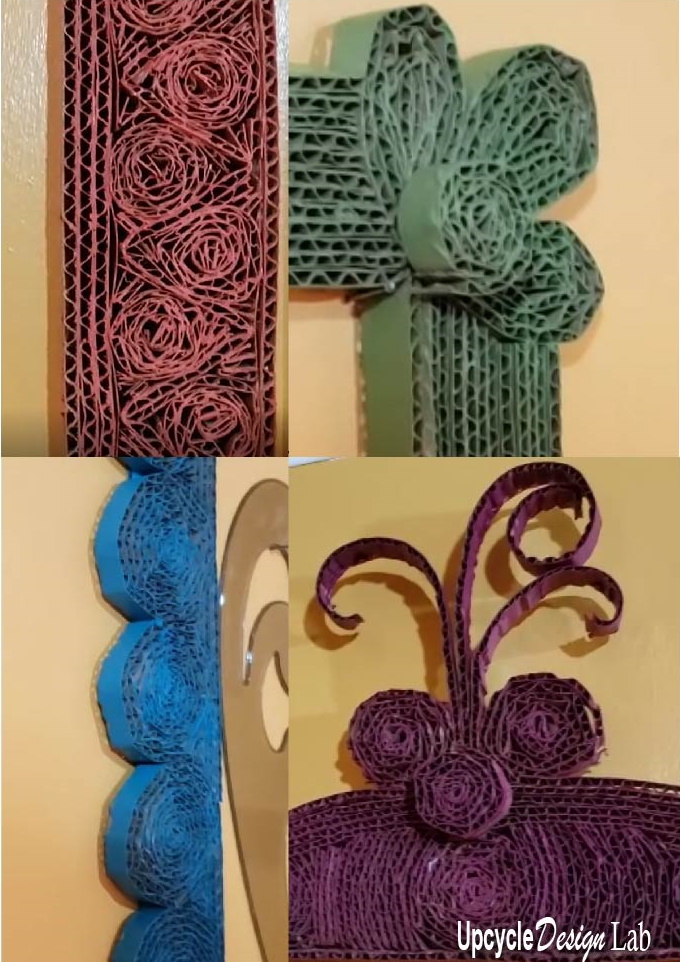
Once that was done I made the base shape in the sizes I needed and then used 1/2″ cardboard strips to make my designs.
It was fun to experiment with different shapes. I used hot glue and white craft glue to assemble all the pieces.
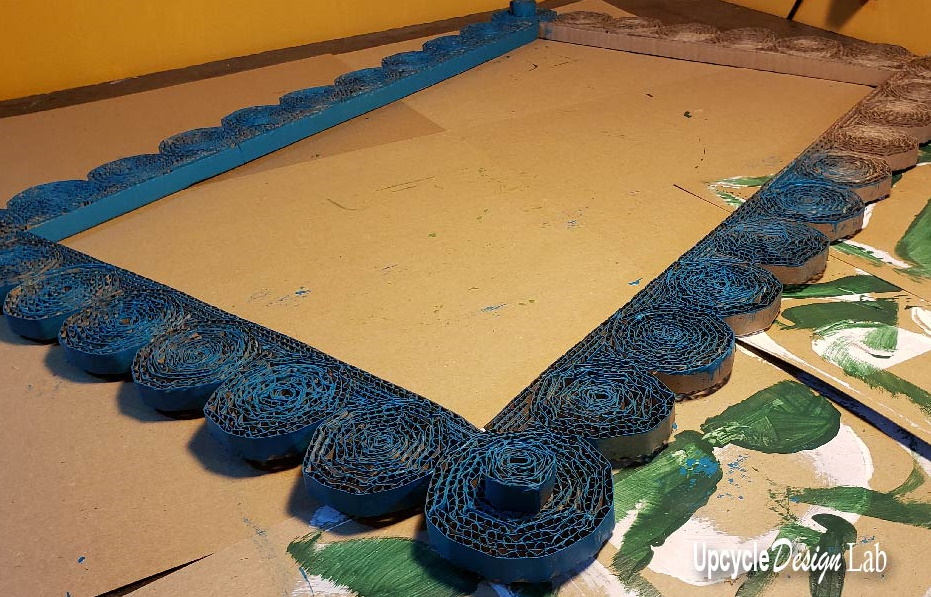
The final step was to add some color and hang everything on the wall.
You can find all the details in the video below.
Thanks so much for stopping by.
Happy Upcycling,

Advertising Disclosure: Upcycle Design Lab may be compensated in exchange for featured placement of certain sponsored products and services, or your clicking on links posted on this website.


Awesome! Going to try this on a cork board that has a wood frame. Can you tell me where you get your cardboard and what size sheets you purchase please? Can’t wait to get started. Thanks again for your terrific projects 👍😄
Hi Fran thanks for your comment. I am glad you like the project. I used old card board boxes of all different sizes to make these frames. Thanks again and good luck with your project.
Hi, great ideas and projects. I have used cardboards for many projects- especially in my garage. I used the boxes to build walls. Do you have any ideas for the small laundry detergent bottles?
Hi Ginger,
Thanks for your comment. I have not made anything from laundry bottles but I will have to give it some thought. Thanks again.
Great Ideas! Thanks for sharing.
Thank you for your nice comment.
Absolutely amazing, I am so impressed with what you did !!
Thanks so much. This was one of my favorite experiments.