
Craft Room Makeover – Extreme Upcycling – Packing Paper Ceiling
Hello and welcome to the Upcycle Design Lab. If this is your 1st time here I am so happy that you have found my little creative space. I like to experiment with recycled materials to see what I can make from them. If you are interested in upcycling or if you enjoy this project you can become a subscriber here. I will send you an email when I upload new projects. Usually once a week. Other than that I will not clutter your inbox.
Currently, I’m working on giving my messy craft room a much-needed makeover and I am sharing a lot of different upcycled projects along the way. I have posted a lot of other upcycling projects over the years so if you have a minute I hope you will take a look around my blog and check out some of my other creations.
I hope you find some fun, inspiring and unexpected projects here. I do endeavor to create things that I have not seen other folks create. I am not suggesting that my works are wholly original but I do try to put my own twist on them.
As I mentioned above I am giving my craft room a whole makeover. If you missed any of the projects you can get caught up here.
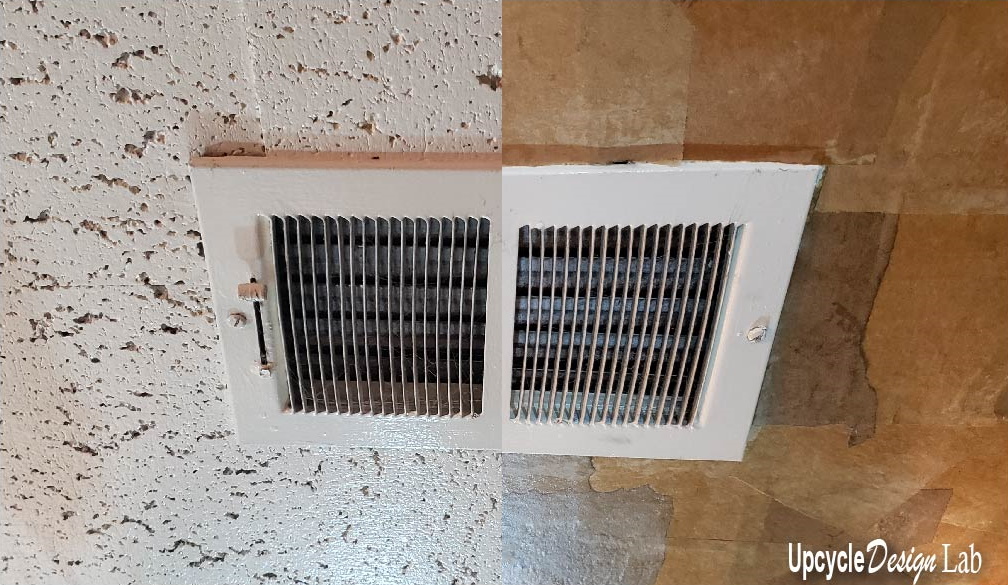
One of the ugliest parts of the room has always been the old ceiling tiles.
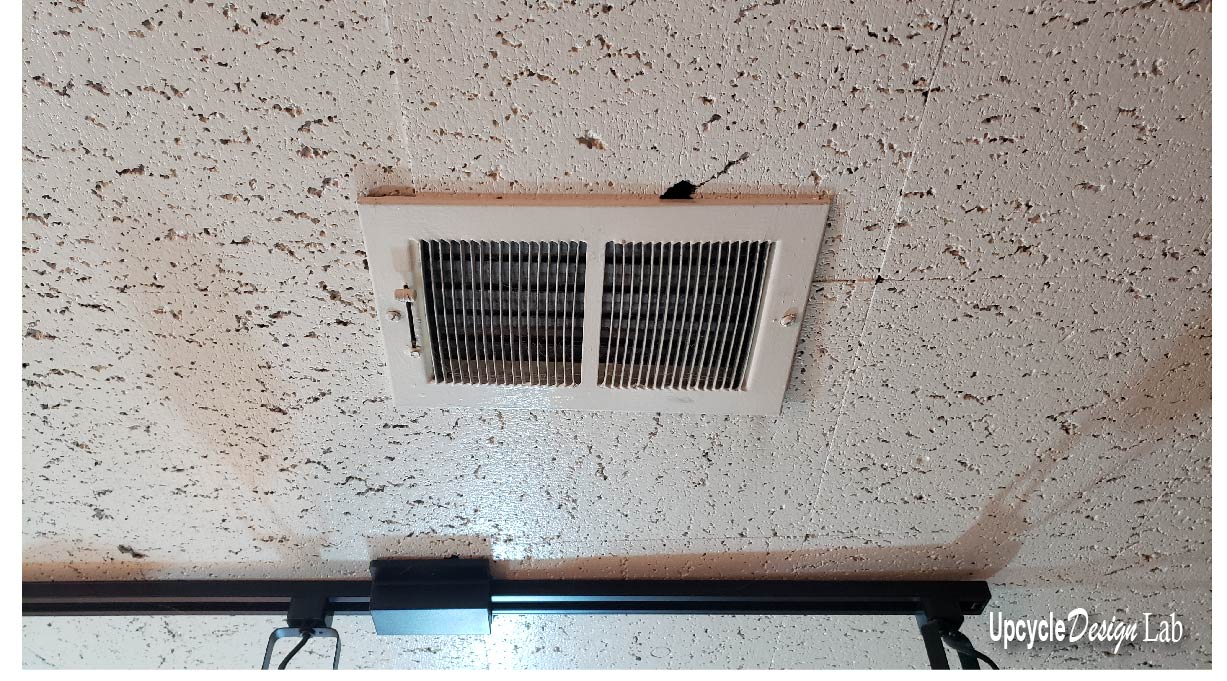
I rest my case.
Anyway, painting them did not seem like a very good option, as it would have left the weird texture and obvious seams. And I really didn’t want the messy undertaking and expense of tearing down all the tiles and putting up drywall. Happily, somewhere during my other gluing and pasting projects for this room, it occurred to me I could cover the ceiling with packing paper and mod podge. In fact, a lot of the projects for this room makeover have involved mod podge. It is actually pretty amazing stuff. Before I started this room makeover I always used the glue and water substitute version for projects. After doing some side-by-side testing of homemade vs the real thing I am a pretty big supporter of the brand.
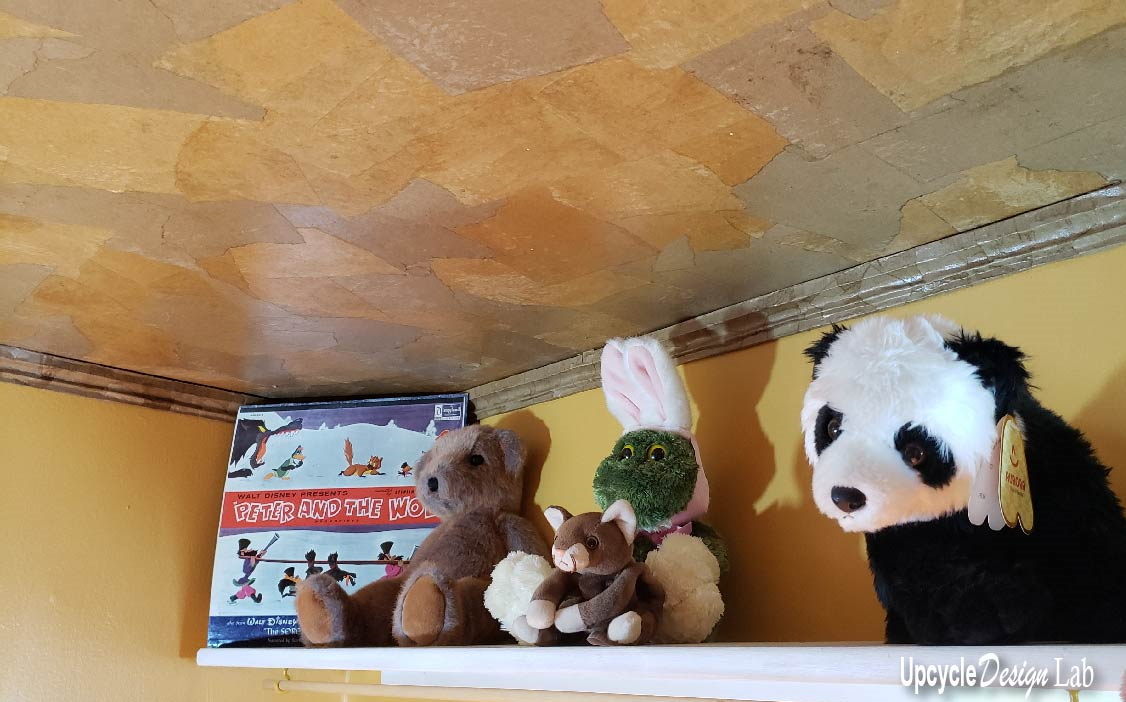
Anyway, this project was really easy to start as I was confident that I couldn’t make the ceiling look any worse. And I guess in full disclosure that is how a lot of my projects start. It is a little time-consuming but very simple in its nature. I did have to scour my house and other resources to come up with enough recycled packing paper. In the end, I had several different shades which actually made the ceiling more interesting. Well, that’s what I think anyway. 🙂
There are really only 3 steps to this project. And very few tools.
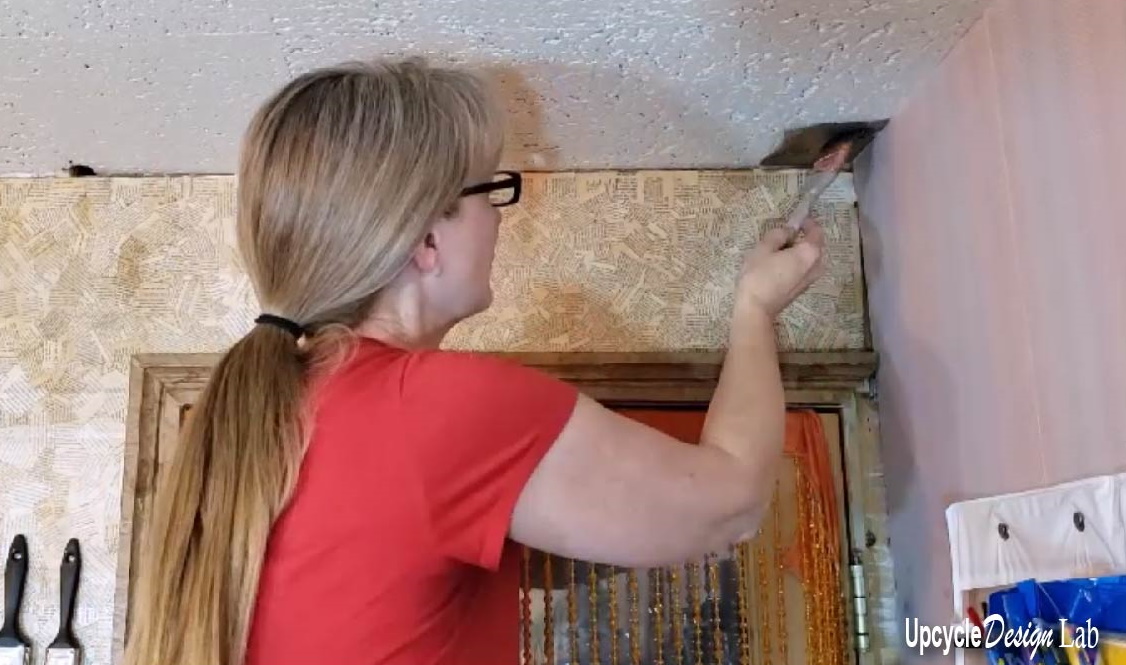
Step one – Tear the packing paper into roughly Six-by-six squares and then use the mod podge and a paintbrush to glue the pieces randomly on the ceiling overlapping the edges. I started in the corner but I don’t think it really matters where you start. You will also want a step ladder and I guess those cautious folks will also want to use a drop cloth to protect their flooring. I did not bother with one because that is my idea of living dangerously.
Step 2 – Is to cut and nail up the crown molding. Because of my mild obsession to make things out of trash, I made my own crown molding from cardboard. You can find all the details on how I made the cardboard trim in the link here. That is if you want to join the crazy train. Or if you have a life outside of crafting you can just purchase some crown molding like a normal person.
I used a hand saw and miter box to cut the pieces to fit in the corners but any saw with the ability to cut miters will work.
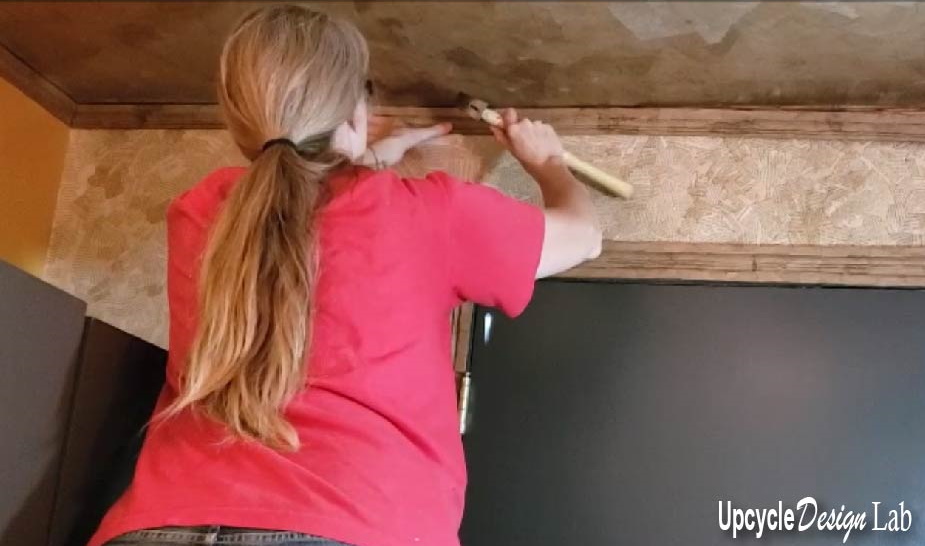
Step 3 – For those of you who still on board to crazy town, is to cover the nail heads and seams with more paper and mod podge. If like me, you are not very good at miter cuts then you might appreciate the fact that this last step can be used to cover up all of your miter cutting deficiencies.
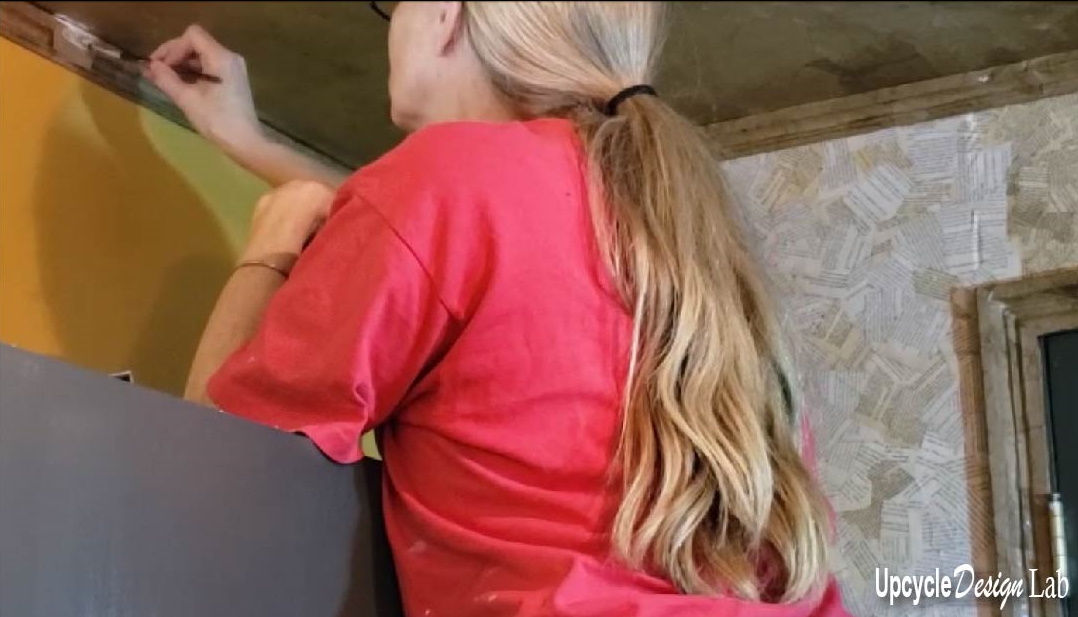
And that’s it. I don’t know about you but I think it is a big improvement.
The whole process is detailed in the video below if you would like to see it come together.
Thanks so much for taking the time to visit. Your comments and questions are always welcome.
Happy Upcycling,

Update: Want to take a tour of the finished room? Check out the video below.
Advertising Disclosure: Upcycle Design Lab may be compensated in exchange for featured placement of certain sponsored products and services, or your clicking on links posted on this website.


I love this! You’re so creative.
Thanks so much 🙂
I absolutely love your style!!! What a fantastic room!
Thanks so much. 🙂
I did something similar to cover 70’s paneling. I used plain newspaper (from Hobby Bobby’s vacation Bible Scholl supplies). Ripped the pieces and crumpled the paper. Instead of dodge podge, I used the paint in the color I wanted for the ROM. Rolled th paint on the wall. Smoothed the rumpled paper over the paint, then rolled more paint over the paper. Ten years later it still looks great!
Hi Vickie, thanks for your comment. I love that idea and I am glad to hear it is holding up.
Love this idea and how it came out! Found your video while looking for a quicker/greener/cheaper alternative to hide the ceiling tiles in my own place…it’s a pity to get rid of a perfectly functional ceiling and dump all this good material…if only one there was a way to make it look nicer… the only question before I dive in…since in my case it is an entire floor (about 700sf)…how long did it take to complete the room? Also how much mod podge did you used for the ceiling?
Hi David, Thanks for your comment and questions. I made several different projects that took several months. The ceiling probably took a few weeks because I worked on it while I was working on other projects as well. For the mod podge I am guessing I used about 2 gallons. If you are covering a floor I think there are more durable products to seal the paper with than mod podge. I hope that answers your questions. Thanks again.
Cindy you never cease to amaze me ! I love the ceiling & the entire room !! TFS ! I wish everyone would catch your desire to recycle & reuse the things we already have !
Thanks so much. It is nice to know others that appreciate my crazy crafts.
Thing is, I don’t think they’re so crazy ! YOU are helping our environment, added bonus is it’s attractive & creative. Some people don’t understand why I have so much stuff, they think I ‘may be a hoarder’, I should ‘throw all the ‘junk’ away’… What’s funny is that I’m the one they all call when they need something. Go figure !