
Vintage Suitcase Craft Storage – Craft Room Makeover – Extreme Upcycling
Advertising Disclosure: Upcycle Design Lab may be compensated in exchange for featured placement of certain sponsored products and services, or your clicking on links posted on this website.
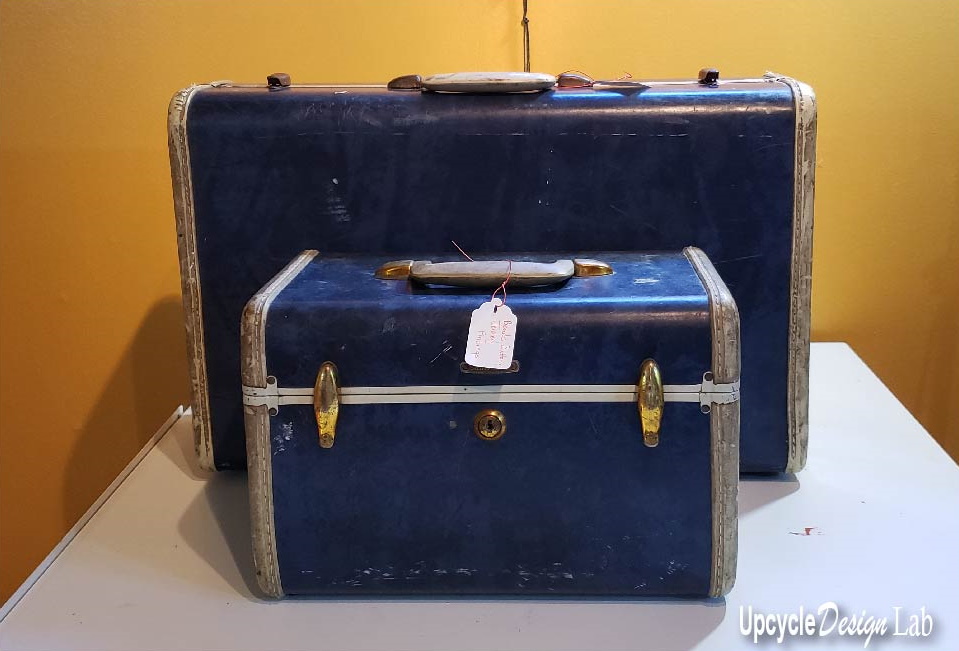
Do you like vintage items? I am not really a collector of a lot of vintage things but I do have a love of vintage luggage, from steamer trunks to train cases and other vintage bags I have collected them all.
Mostly I use them to store craft supplies and until recently their shabby and worn appearance didn’t seem to stand out in what was my mess of a craft room. But now that I am closing in on finishing the room many of these cases needed some attention. And, so they added themselves to the list of projects for my craft room makeover.
Let’s get some paint to the rescue.
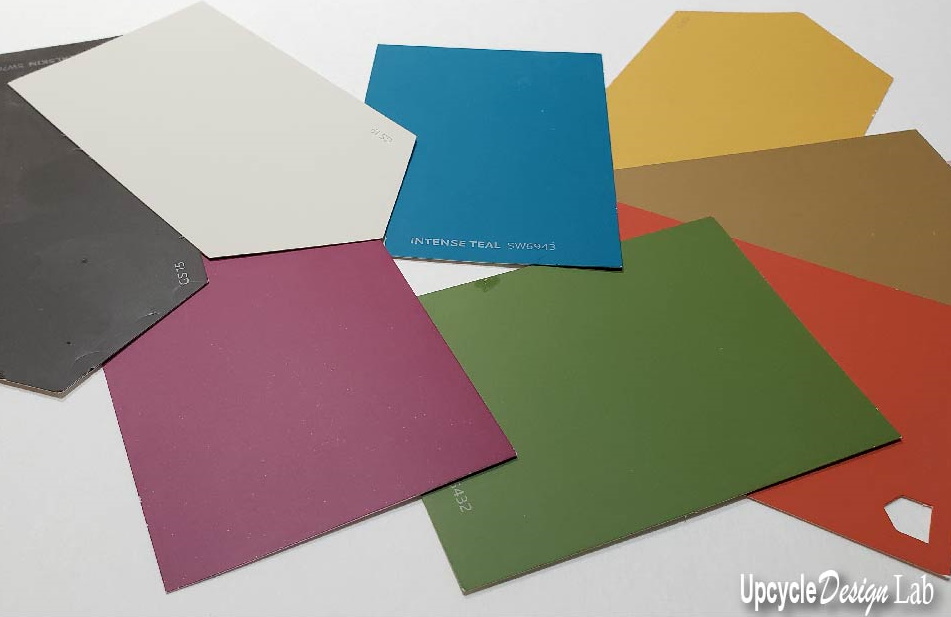
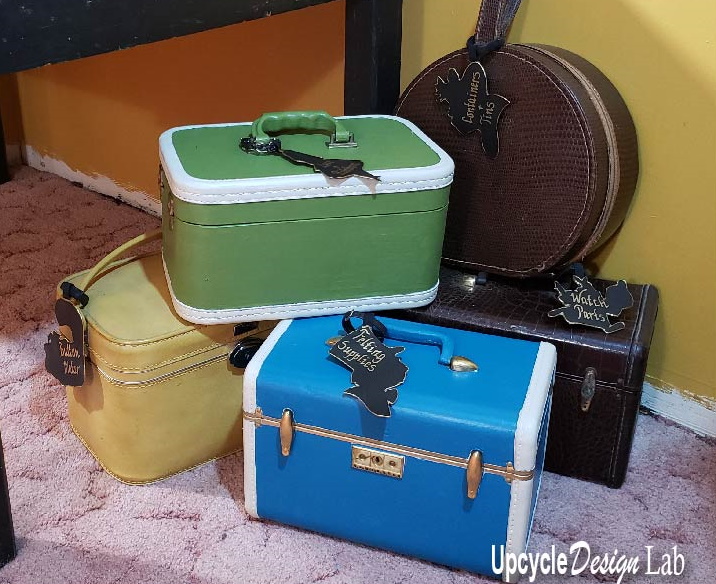
If you have seen some of my other projects you know I have been using a lot of different accent colors. So I figured I would add some of these colors to a few of my shabby train cases.
The first step was to clean them up and then add a coat of primer paint.
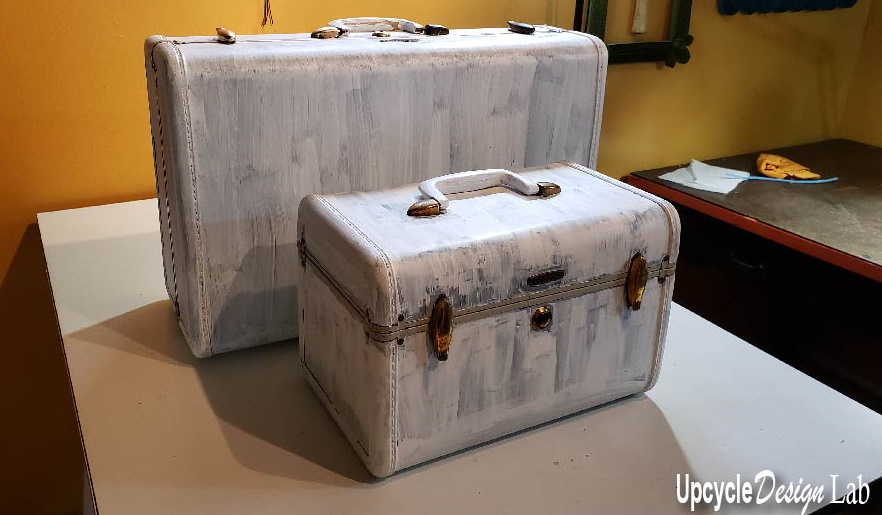
Once the primer was dry it was time to add the base coat. For the first two cases I used paintbrushes on the second two I used foam brushes which I liked better.
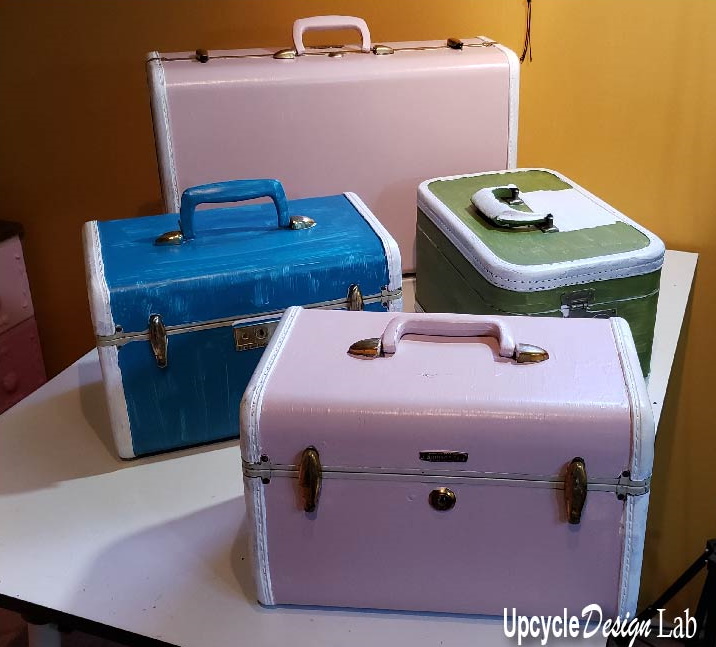
I selected the cream color to use on the trim for all of the cases.
Painting all the differents coats on all the sides with different angles did take longer then I thought it would so it takes a little patience.
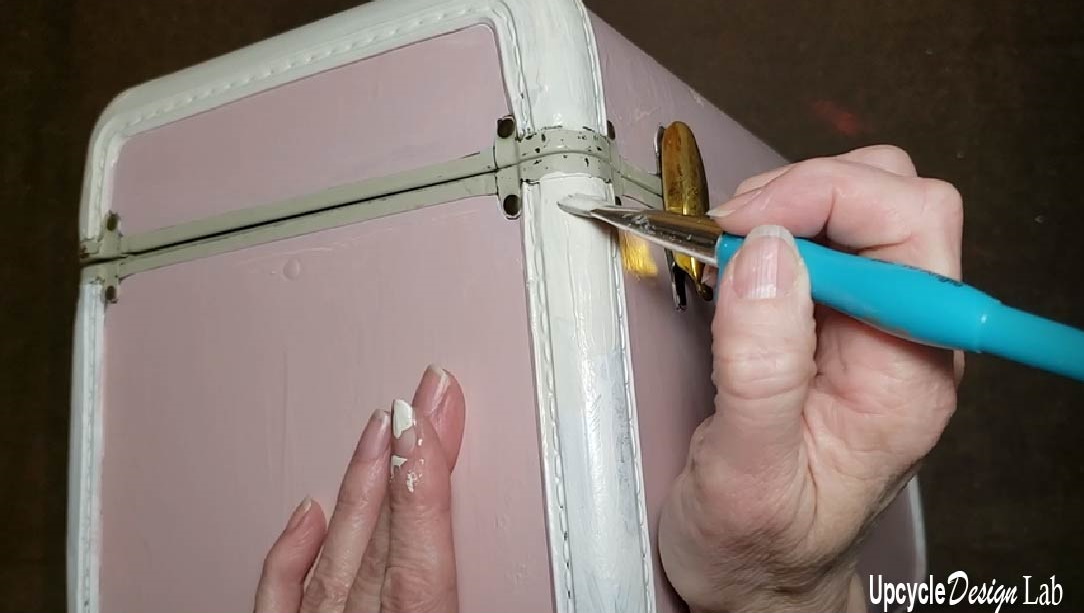
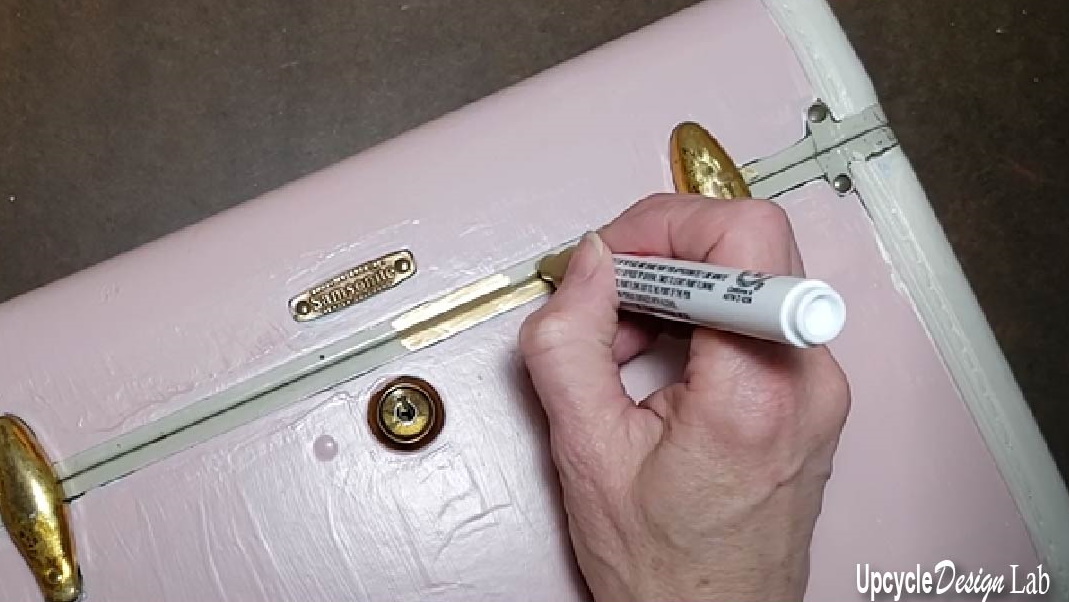
Some of the hardware was also in pretty bad shape. To add a brighter finish to the metal parts I used a Craft Smart gold paint pen to cover the old beat-up finish. I wasn’t sure how well it would work but one coat covered up the rusted beat-up metal.
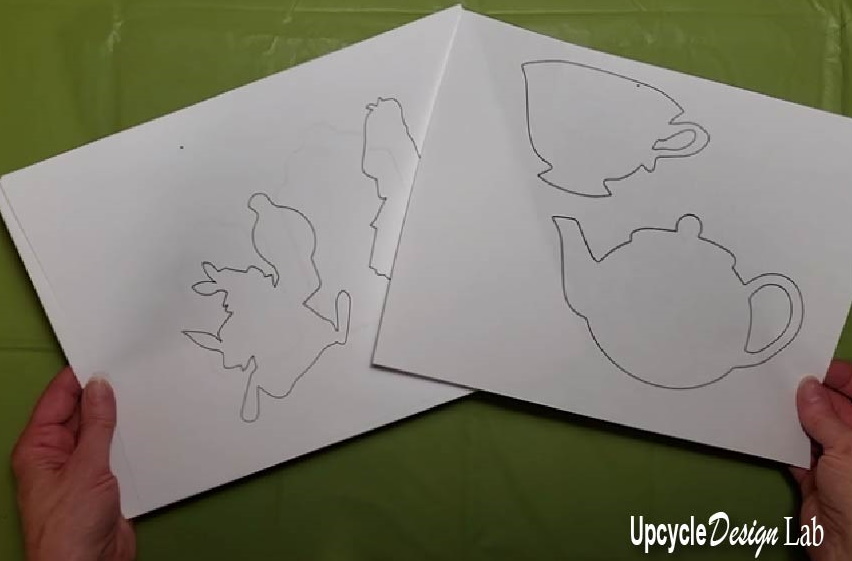
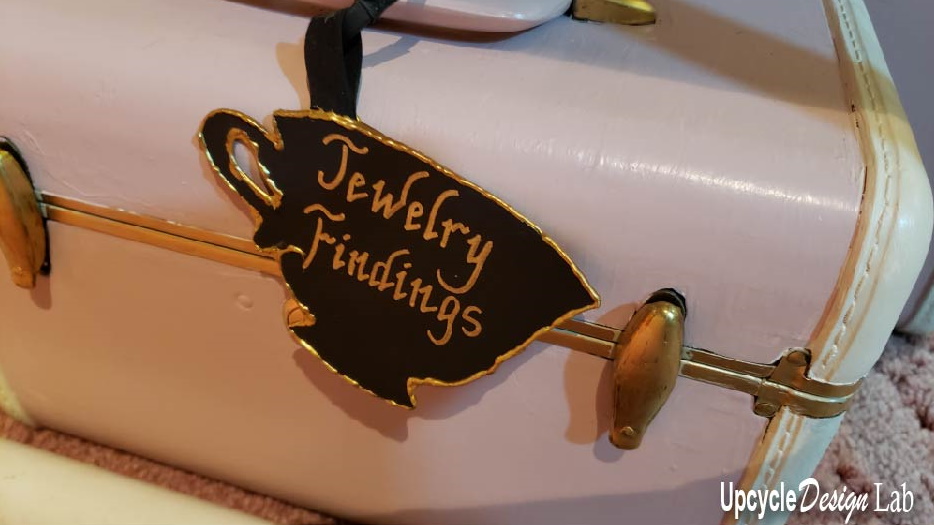
I also wanted to upgrade the tags that I use to identify what is in the cases and since I have an Alice in Wonderland theme going I decided to make the tags in character silhouette shapes. I found some silhouettes on-line and printed them out on my computer. I use Adobe Illustrator to re-size and manipulate the shapes to the sizes I wanted, but I think most graphic programs would work for this purpose.
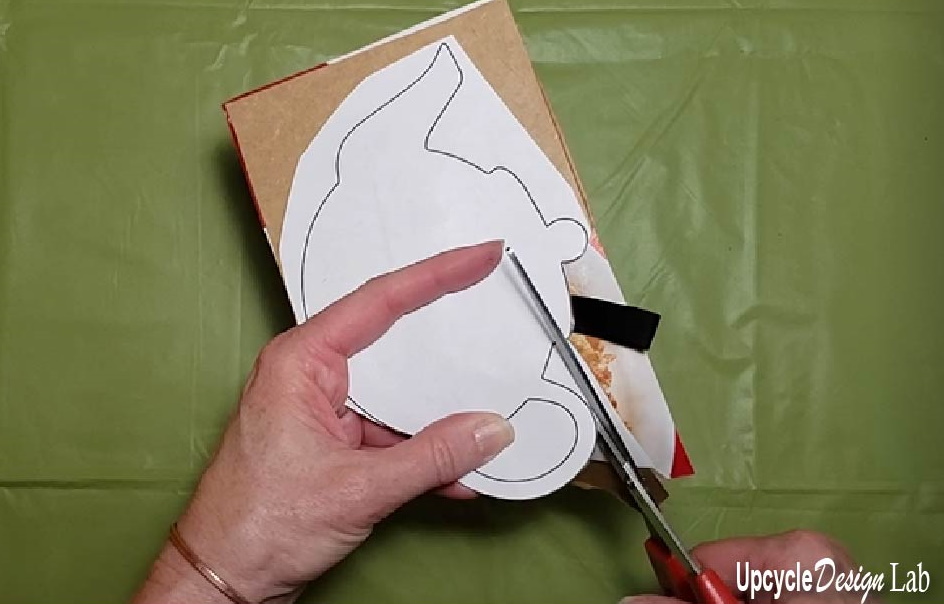
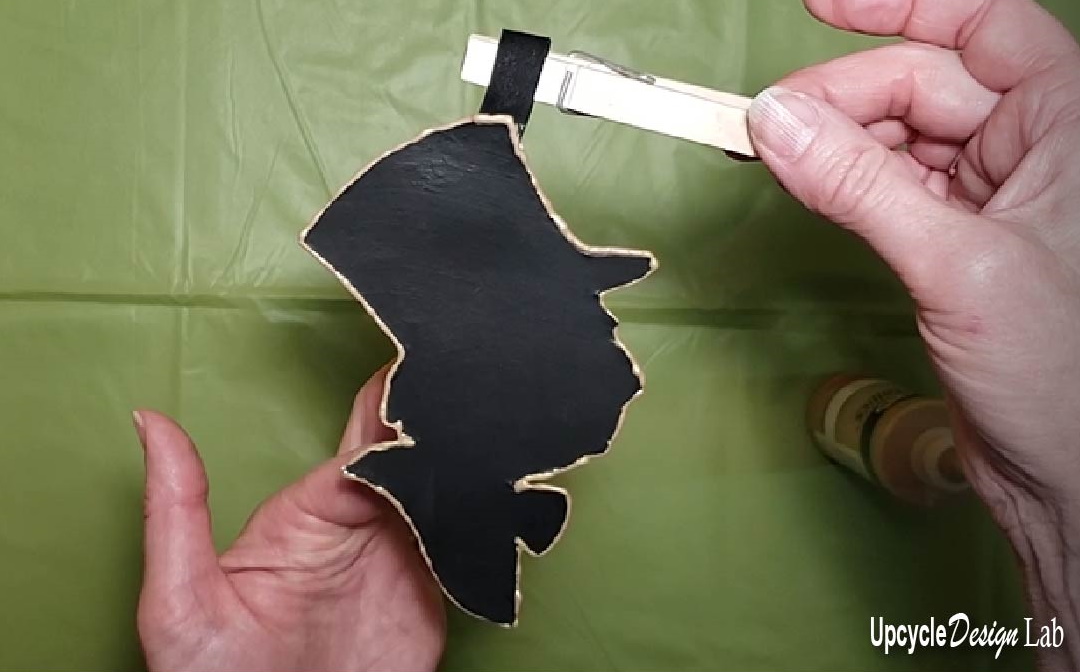
Once I had the shapes printed out I used some clean release tape to attach them to a piece of chipboard (cereal or cracker box because we are upcycling here after all). I wanted to make my tags extra sturdy so I cut out two pieces of the same shape and then used a glue stick to hold them together. Before gluing the two pieces I put a loop of fabric between the two pieces to hang the tag from.
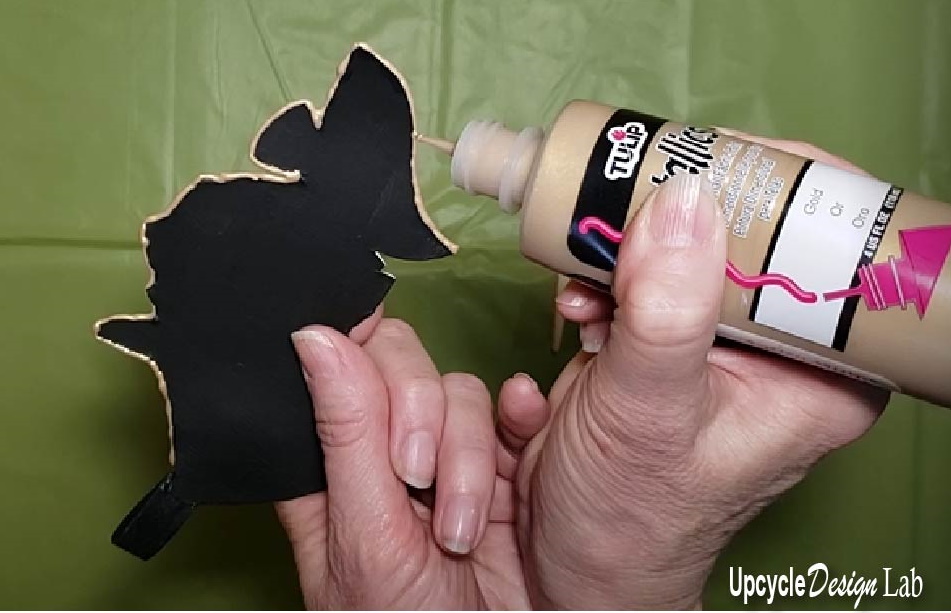
Since I was using silhouette shapes it only made sense to paint the tags black, but I wanted to add some kind of edging. Fortunately, I had some gold metallic dimensional paint made by Tulip that seemed to be perfect for the job. The bottle has a very pointed tip to squeeze the paint out of and this worked well to add the edging to my tags.
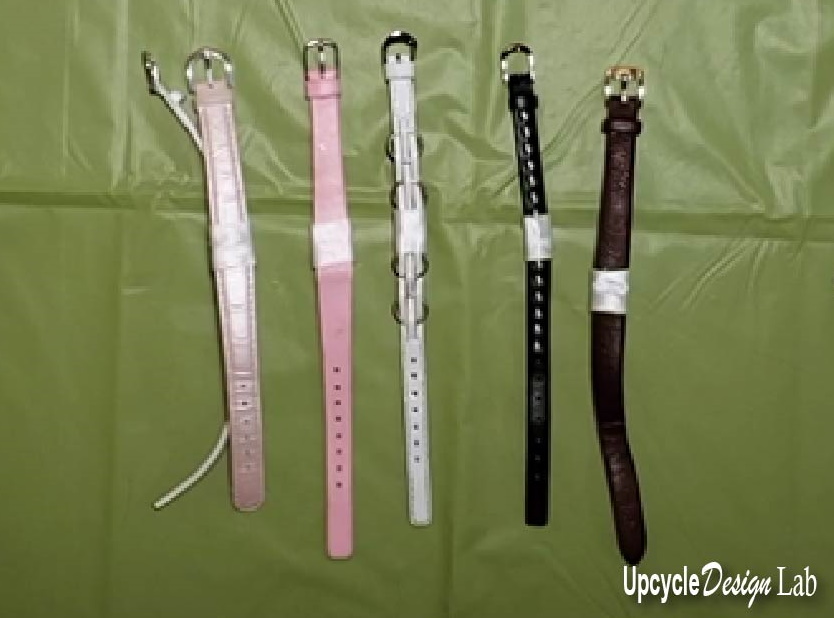
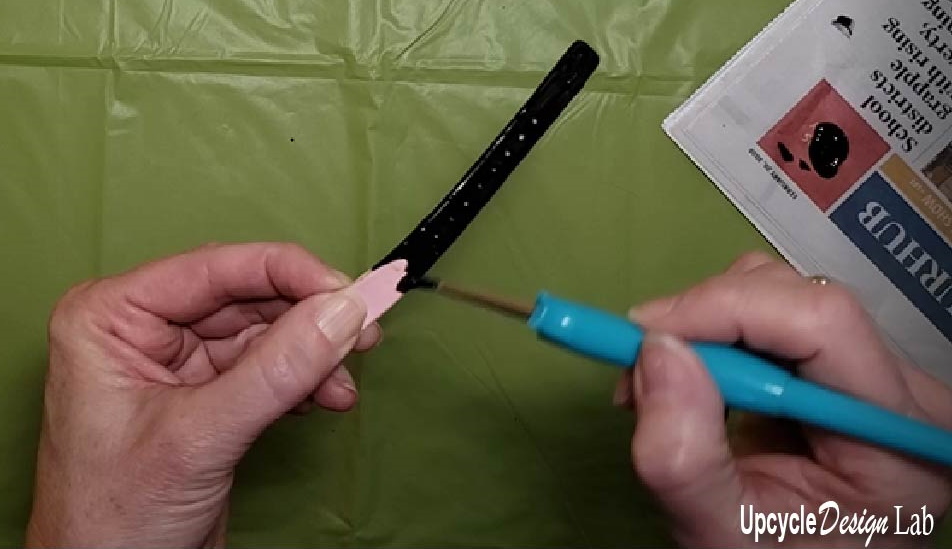
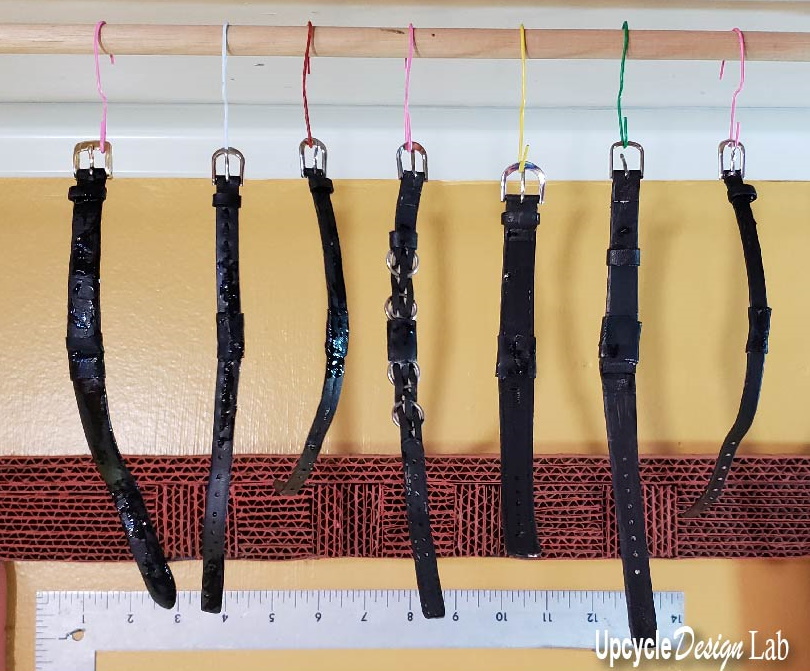
To attach the tags to the luggage I used some old watch straps. I have made a lot of projects with watch parts over the years including watch face earrings, watch picture charm bracelets and buckle earrings but to date, I had never had a use for the bands themselves. But since I never throw anything away. Ok, that isn’t entirely true. Anyway, I did still have quite a few leather watch bands and they were the perfect thing to use for my new tags. I simply glued the two band pieces together and then added a small piece of fabric for more stability around the seam. Once the glue was dry I used some more black craft paint to make the bands match my labels.
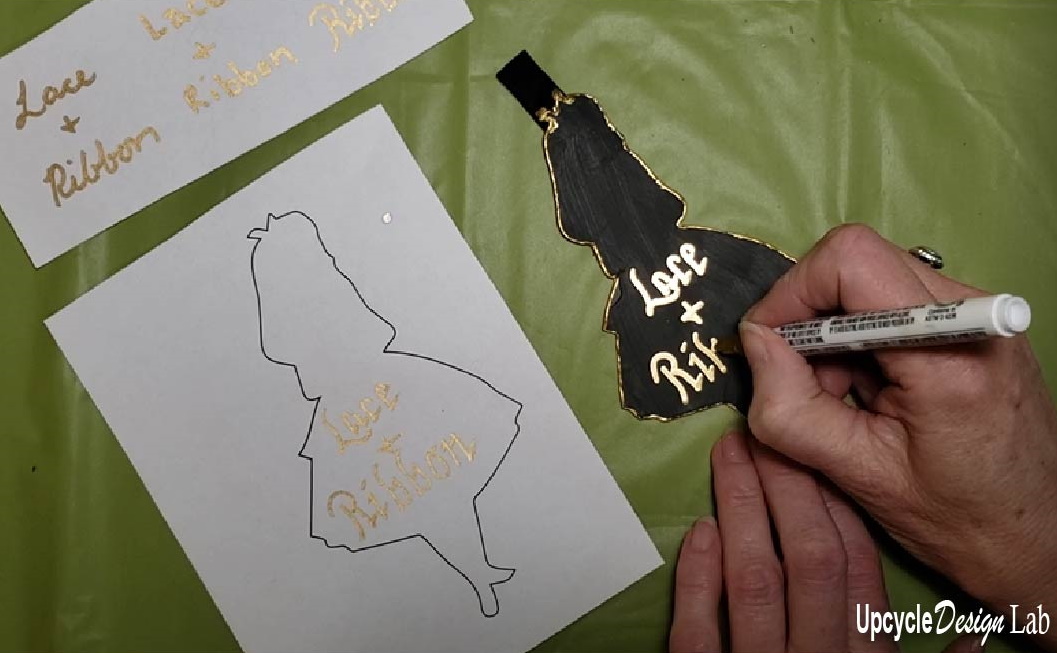
Now it was time for the scary part. Actually writing on the labels. I knew that I wanted to use the gold paint pens but I was afraid that I was going to mess up and ruin on or more of my labels. So I always practice a few times before I commit to any permanent writing. It was worth the extra effort and I love how well the paint pen works for this purpose.
That’s it for today’s post.


You can see more details on how the project came together in the video below.
Thanks for stopping by. If you have missed any of my other craft room makeover projects you can check all of them out here.
And as always,
Happy Upcycling,

Advertising Disclosure: Upcycle Design Lab may be compensated in exchange for featured placement of certain sponsored products and services, or your clicking on links posted on this website.


I’m new to this site. I’m hooked and am looking for more. Keep up the good work and stay well.
Thanks so much. Hope to see you again.